Showing posts with label lost. Show all posts

Thursday, 9 January 2014

Medal #3


I Still need to polish this bad boy up. 

The other side of the medal:  (the difference in colour is due to poor lighting)
 

Saturday, 7 December 2013

Lakeside Project


Lakeside Project

For this project we had to create a piece which was inspired by the artifacts at Lakeside Arts Center - Nottingham.
For my inspiration I chose these two iron age broaches.
 I made rings in bronze and silver using the lost wax casting process. I wanted the rings to have a rough edge to them, but have the same pattern as the broaches.
Here you can see the spru I used to cast the rings. - looks a lot like a belt buckle here!

Silver Ring:


Im planning on selling them as a set of stack able rings.


I need to polish them more in order to get a better shine out of them. 

Friday, 22 November 2013

All Sprued Up


 BAMS: MEDAL 
Here you can see my medal all sprued up, The red wax around the edge is what the metal will travel round when its cast. The more sprues the better.
looks a little bit like a love heart.


I had to add wax to the underside of the bees to try and insure that they will come out when I cast them. 
It a little messy. But hopefully it I will be able to neaten it once its cast.

The black stuff at the bottom is also wax - its a softer version.

Thursday, 21 November 2013

BAMS: British Art Medal Society

So for my project im creating a medal for BAM (http://www.bams.org.uk/default.php).
there are a number of guide lines but basically you can do a medal on a subject of your choice.
I chose the save the bees campaign and all the bee related work you have seen so far, has been for this project.

Today I finished my the master for my medal -
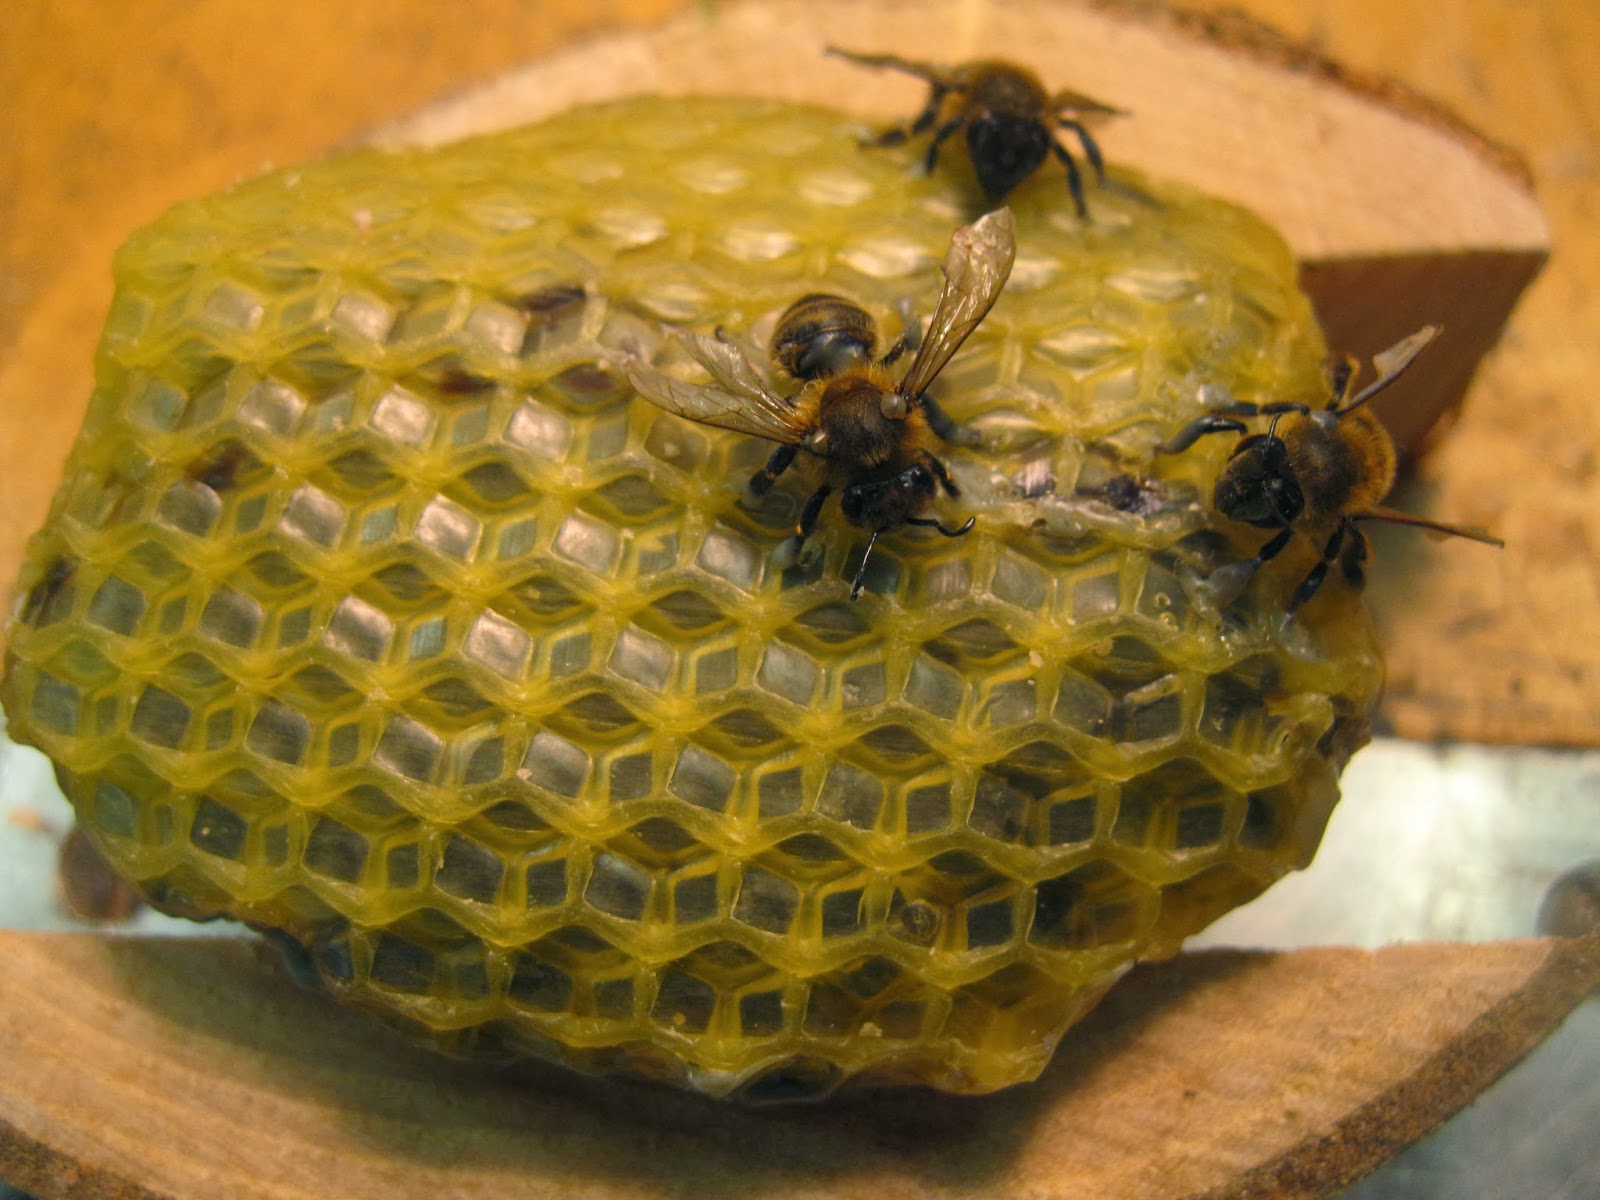
so one side is the man rolled honey comb shape which is used as a foudation for bee keepers and is made out of natural wax. This time I decided to put the bees legs apart in order to make them look more alive - this was not easy.

this is the other side of the medal - its natural honey comb made by bees. I purposely crumbled some of the honey comb so that it has a distressed feel to it


(the bees - my mum keeps bees and these ones you see here were unfortunately killed off by the frost earlier this year) 

Thursday, 14 November 2013

Honey comb attempt 3


This is my 3rd attempt at honey comb casting. 
It didn't rise as much as I wanted to, but I quite like the effect that its had. 
The decayed look fits in perfectly with my save the bees project.
You can also see through to the other side of the honey comb and can see where I filled the other side with wax.


I also coated this in a layer of ammonia powder to give it a darker colouring.


Harry Potter Ring

Harry Potter


Made this for my friend.

Tuesday, 12 November 2013

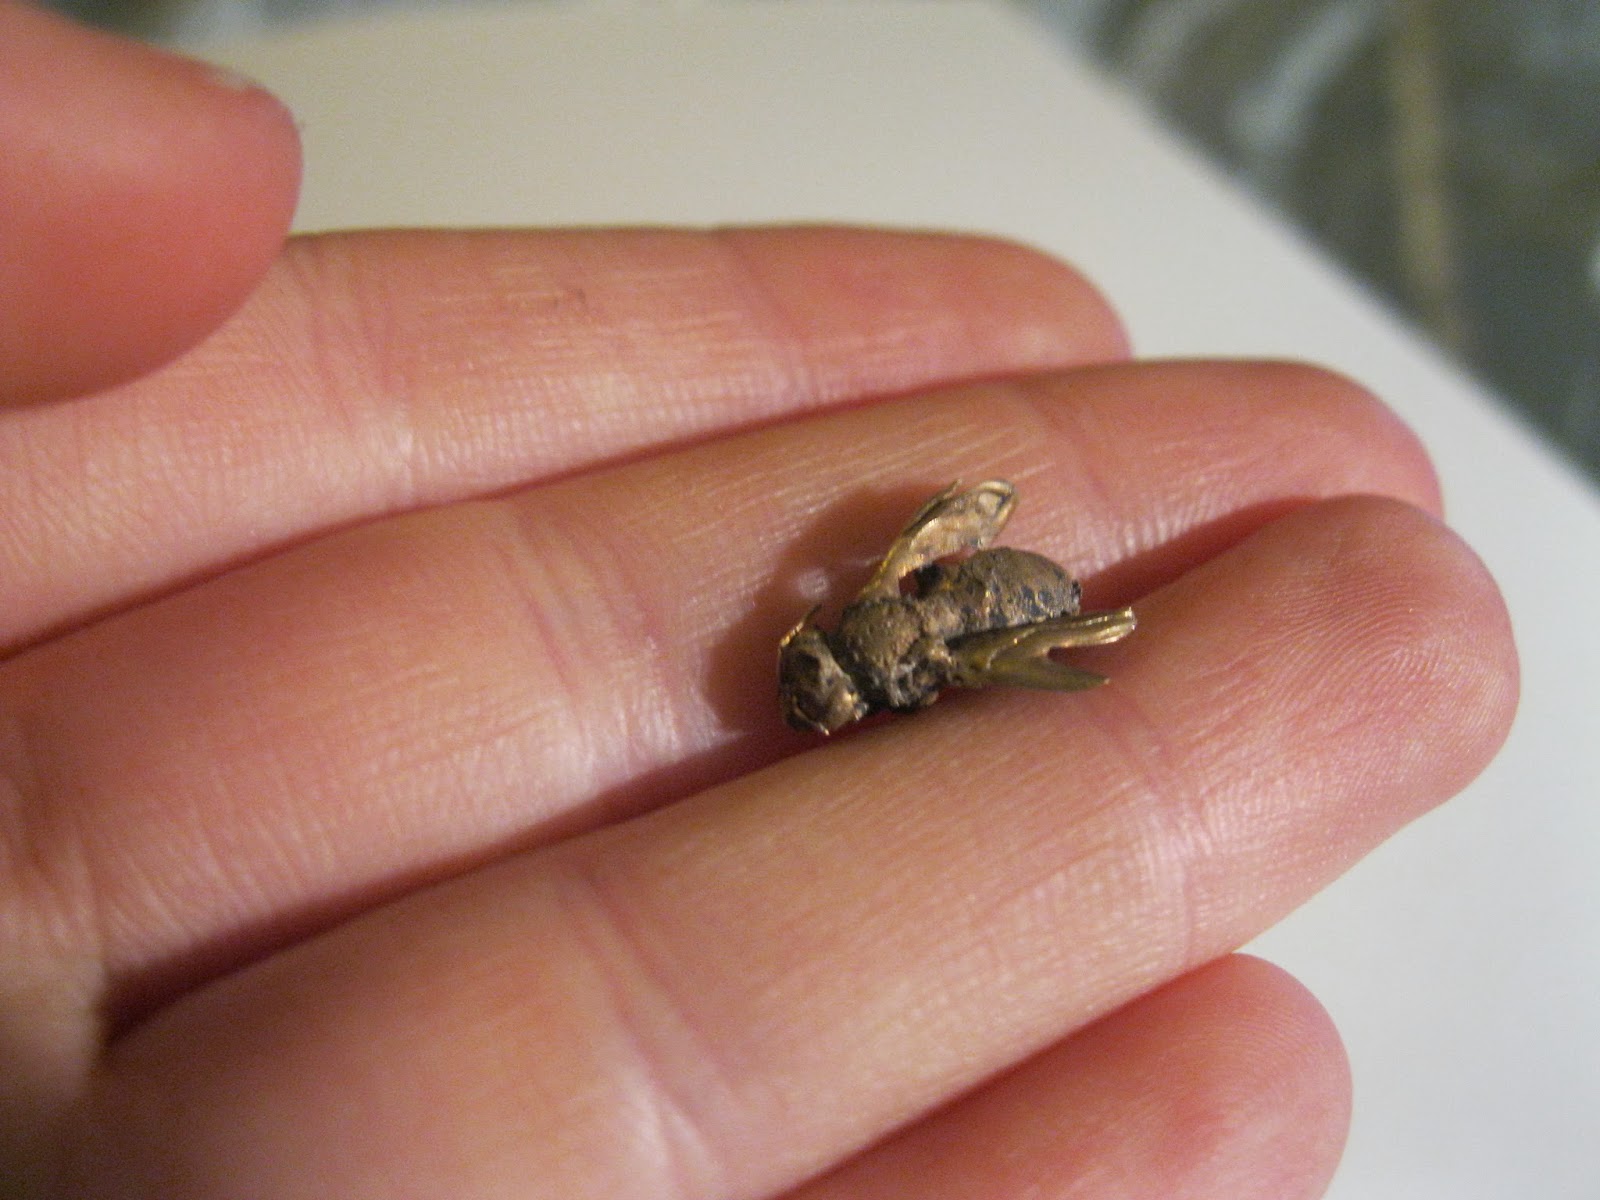
Todays Bee cast


So excited about how this turned out!
All the wings came out and there is the texture of the original wings on the bottom. next time i cast it ill attach the wax to the underside so that the pattern appears on the top, 
One of the antenna came out perfectly!


The legs and under side also came out exactly how I wanted. In this photo you can see the pattern on the underside of the wing.


I still need to polish this little lady up! 
 photos to follow

My favorite part of casting


This is how you remove the plaster mold  from the metal inside without damaging the piece inside.


You need to wait 10 minutes for the metal to cool.
The colour of the metal should go from red to a dull grey. 
It will still be super super hot! - do not touch!
Then you need to dunk it in water, whilst moving it from side to side - but be careful not to let your work slip out.


Such a good sound! Watch out for the stream!


Tuesday, 5 November 2013

Lost wax process and bronze casting

 So this technique is known as the lost wax casting process.
This allows you to create detailed pieces in wax and then cast them in a metal. I've cast mine in bronze as its cheap but you can also do it in silver or bronze.
  • first create your piece in wax - this is easily done by heating the wax and using wax moulds. This is a photo of one of my rings. You need to add a sprue in order to attach it to the casting 'tree'.you will need a casting base and top.  


  •  Next you attach the sprue to the tree by heating the wax. You need to make sure that it is at the best angle so that the metal can easily flow through it (similar to the angle that branches come off a tree)


  • You cant see it in this photo but you need yo insure that the bottom of the wax tree is securely attached to the base by filling in the bottom edge with wax.


  • Then put the top on and add a piece of tape to insure that it doesn't over flow. 

next measure out your plaster - this is a special extra fine type of plaster 

you need to measure out the correct amount for your casting base.

 Mix the plaster - start slow and work up to a higher speed. - 3 minutes

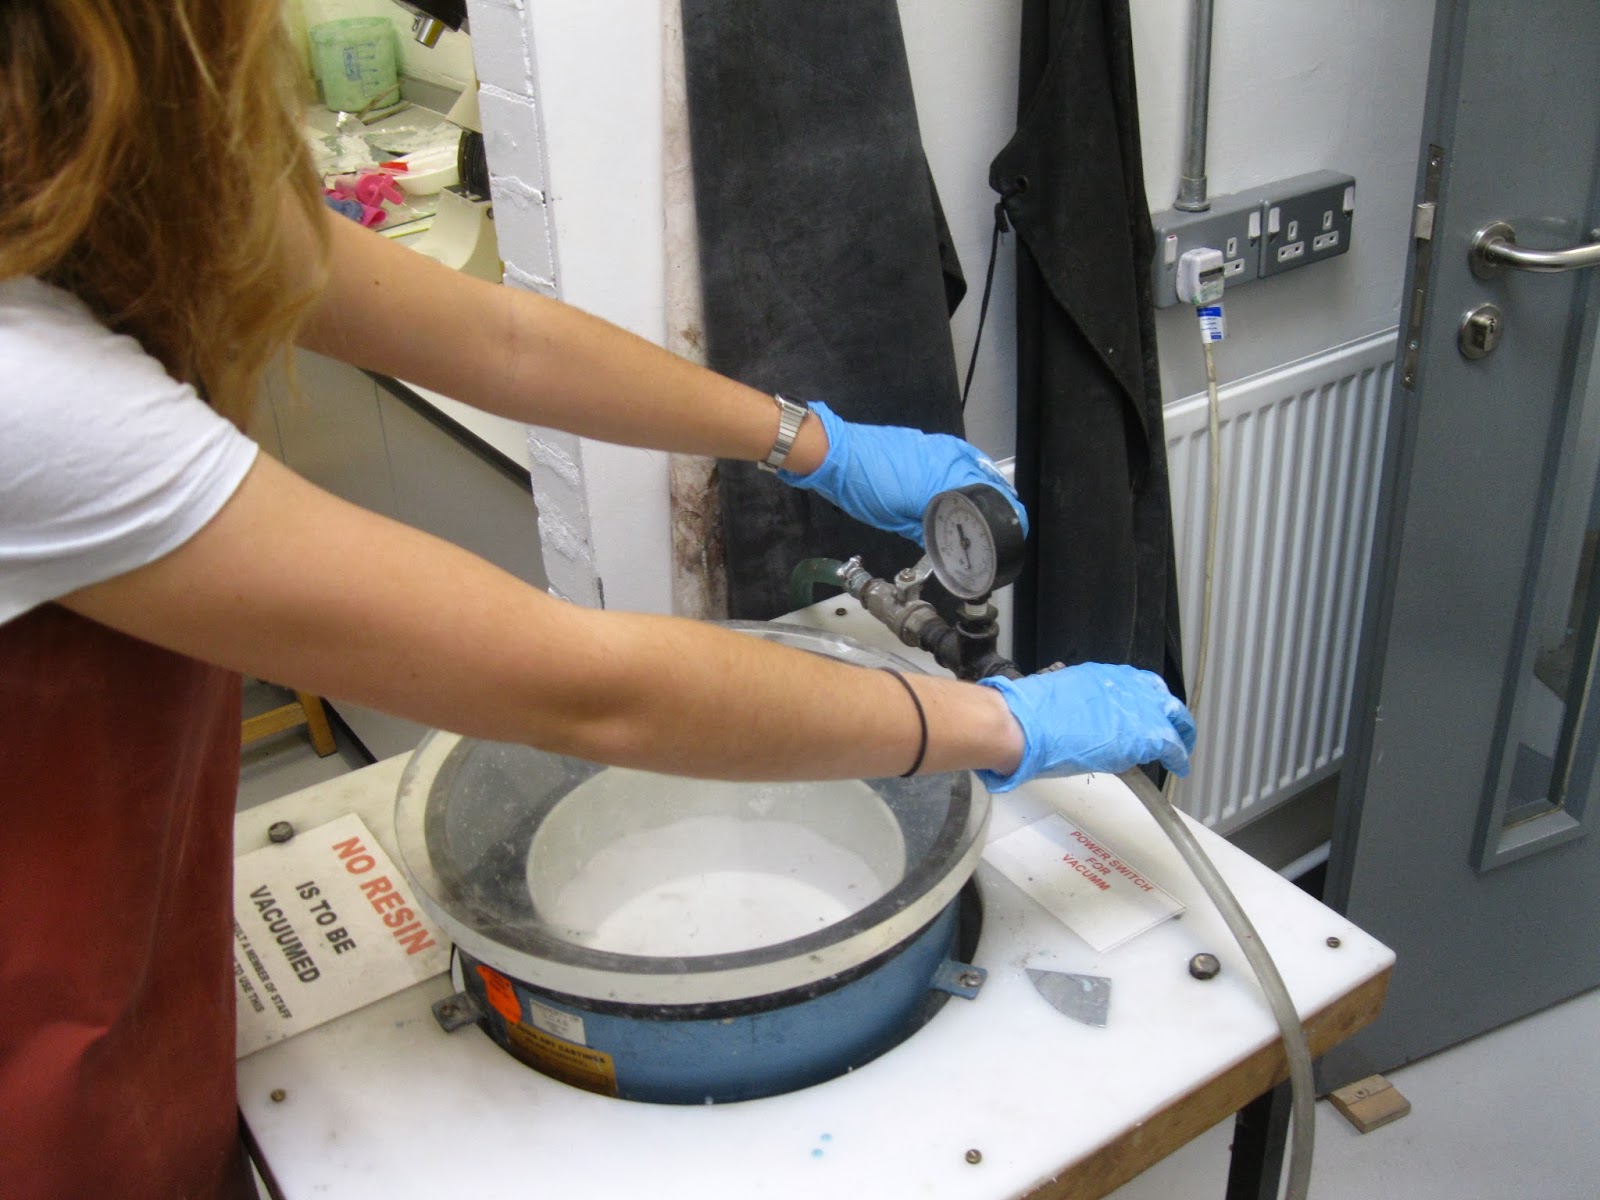
remove the plaster and vacuum it. for 2 minutes - in order to get all the air bubbles out.
The plaster should raise up and then quickly dip

Slowly pour the plaster over your cast. Make sure you cover the top.

Vacuum the cast again to remove all the air bubbles. If any of the pieces are poorly attached then they will float to the surface and the cast will not work.

Wobble the stand as it is being vacuumed. Do this for 2 minutes.
This is what it should look like. The piece then needs to set and be left upside down in the kiln so that all the wax gets heated up and drips out. 
This is what is used to pour the bronze into the cast. It heats up the metal and then spins round insuring that all the gaps are filled and there are no air pockets left


The red part is the newly poured metal and it is this colour because it is very very hot.
You have to wait until the metal has cooled and then dunk the plaster in water and due to the sudden change in temperature the plaster crumbles, leaving you with your final piece.

The cast straight out of the plaster.

Once it has been washed.